 |
Barry and Penarth Model Railway ClubTechnique 4: Fixing Kadee couplings to older Hornby and Bachmann wagons
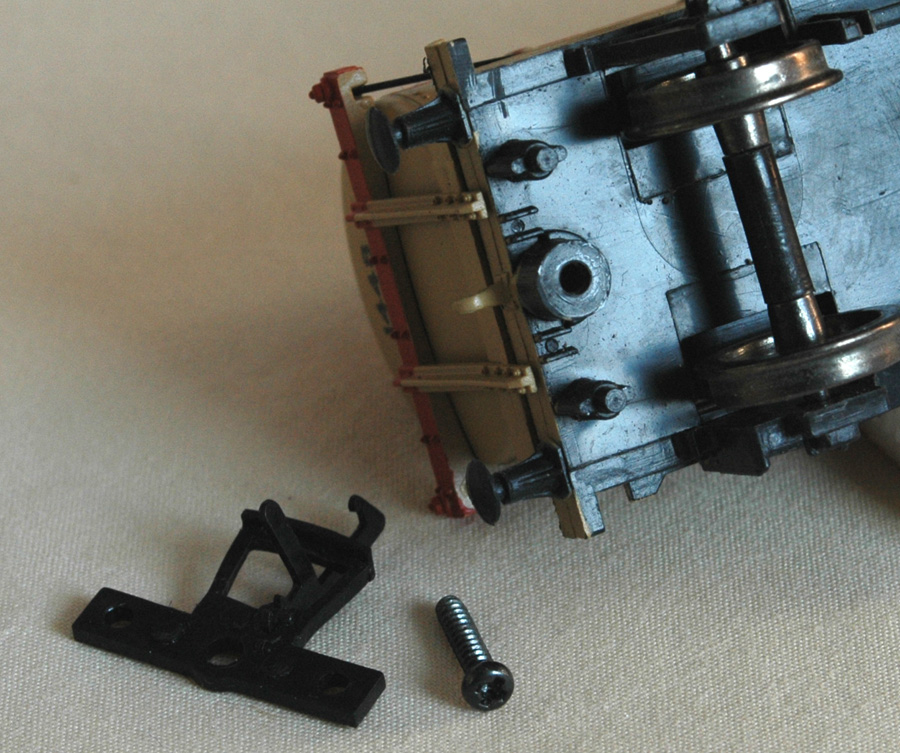
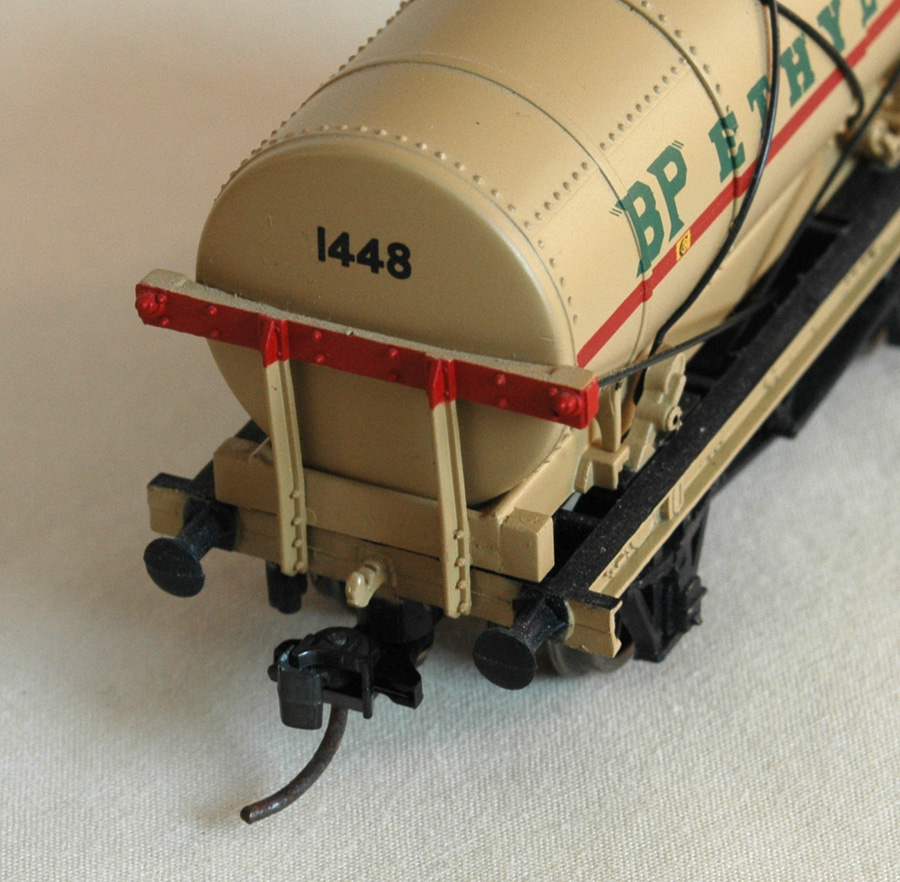
This is a simple method for replacing hook & bar couplings in some older Bachmann and Hornby freight wagons with operating Kadee couplings. Providing the original coupling is attached to the wagon with a single bolt or selftaping screw, this method does not damage the wagon in any way and, should the need arise, the original couplings can be reinstated.
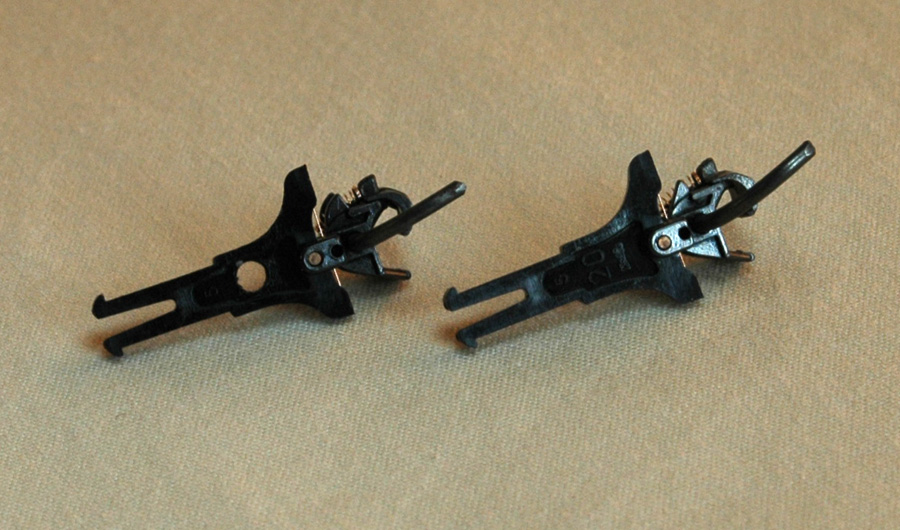
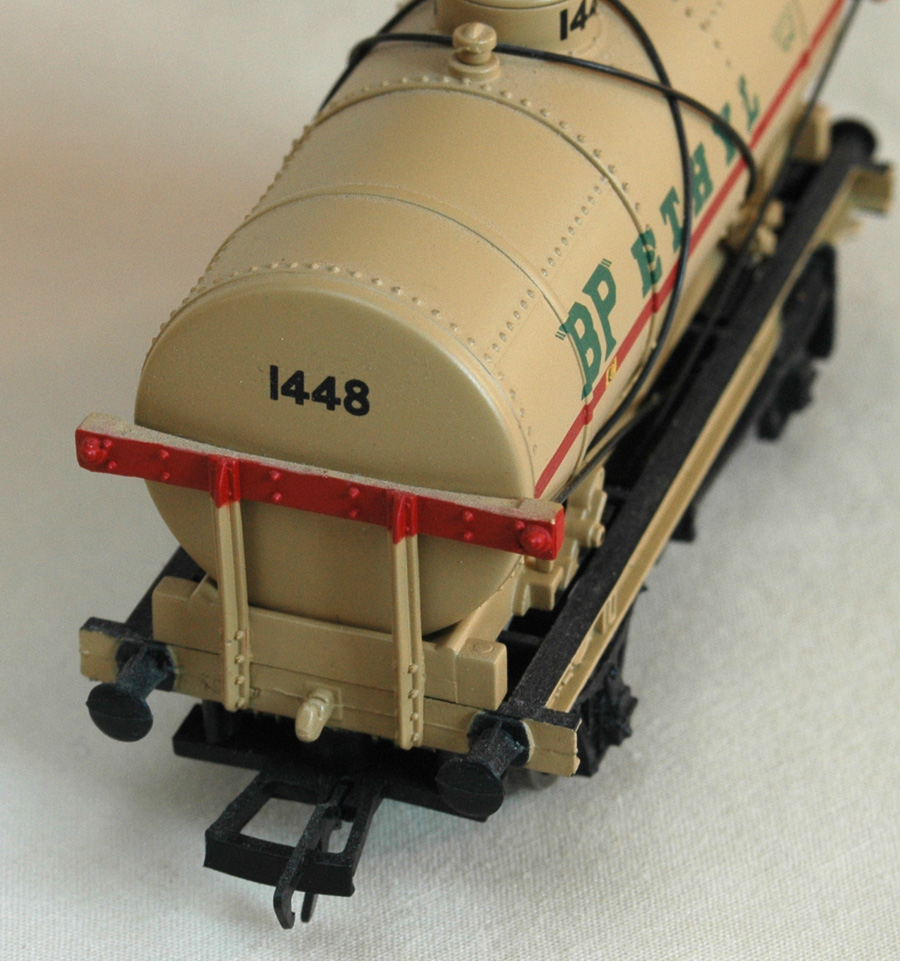
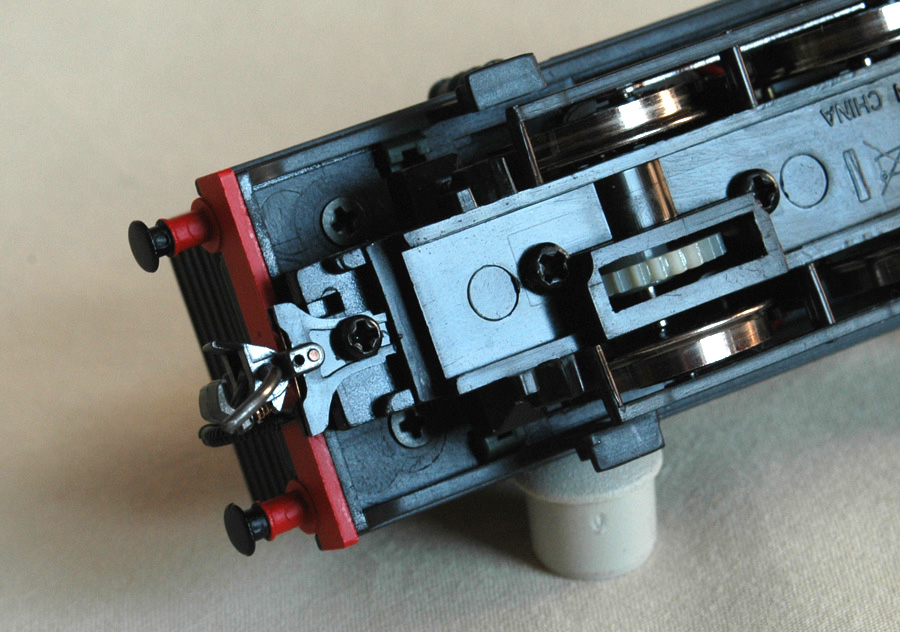
The pictures above show two small wheelbased Hornby wagons. In this case, the tail of the Kadee has to be cut in situ to avoid fouling the wheel-axle. A similar modification is shown below with the Kadee fitted to a Hornby Terrier loco.
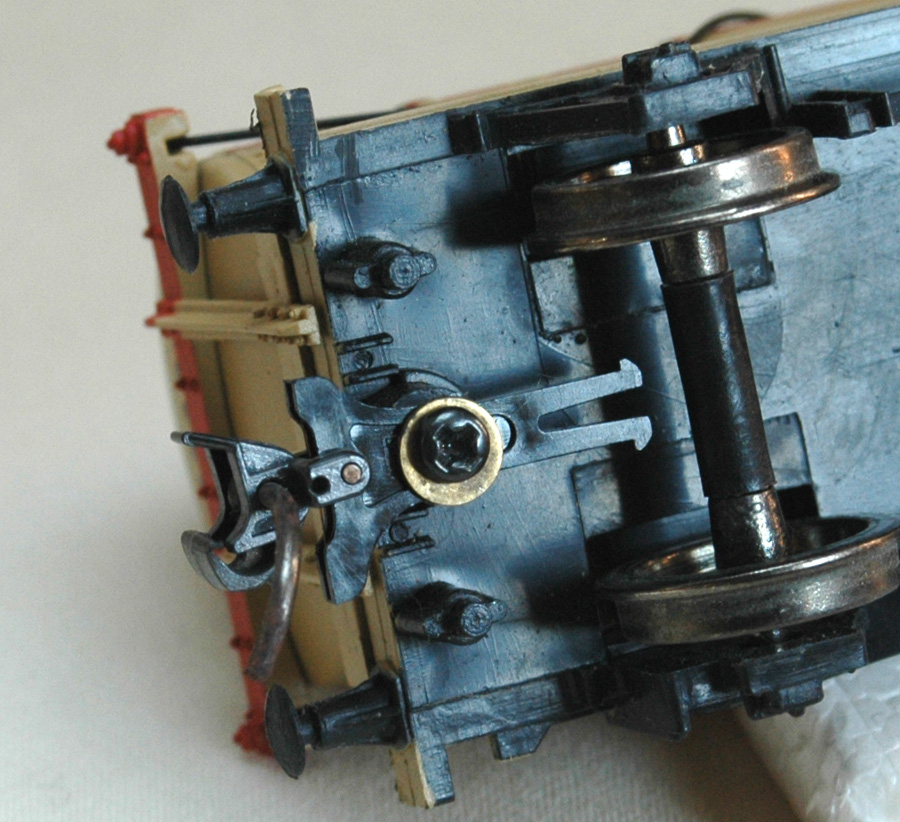
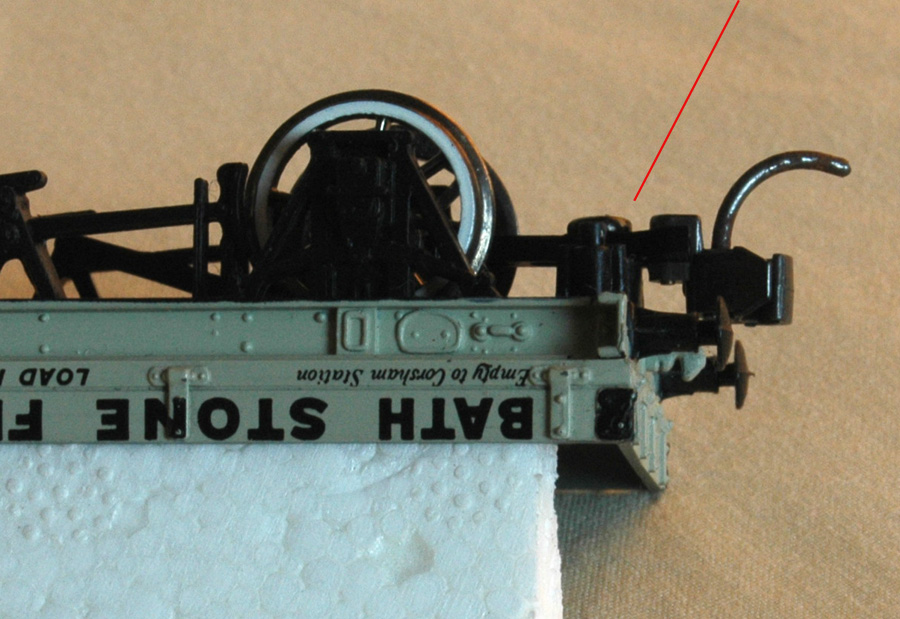
If close coupling is required and the length of the buffers allows, then the hole can be positioned closer to the coupling itself. However caution should be exercised, especially with Bachmann wagons not to get the coupling too close to the body of the wagon, or else the coupling mechanism can rub against the locating boss and hence not rotate freely - see below.
|


 |